Jul
22
The NetMagic Shoot
Bill and Wendy from NetMagic are friends of mine. Bill has been helping me get started with cycling again, after a 20 year rest from regular exercise (I kid you not!!). In a way, that’s a whole blog piece for another time. I’m certainly not willing to share any images of me as a MAMIL until I’m quite a lot fitter, the shame would be much too alarming for my family (and me of course!).
The NetMagic team are working on their web presence at the moment, and Bill mentioned to me that they were looking out for suitable images. I offered to help out with the corporate portraits and an image that gave a sense of the purpose of the enterprise, which is essentially all about helping students (see below).
NetMagic Tuition and Training Services provides:
- Private tuition (GCSE and AS/A2 level) in a range of subjects
- Exam Preparation and Study Skills support
- University Application Advice (Personal Statement Review)
- Oxford and Cambridge Application support with preparing to apply, the application process and mock interviews.
- Specialist support for students with specific learning difficulties of all ages, such as those with dyslexia, dyspraxia and autistic spectrum disorder.
The Technical Stuff
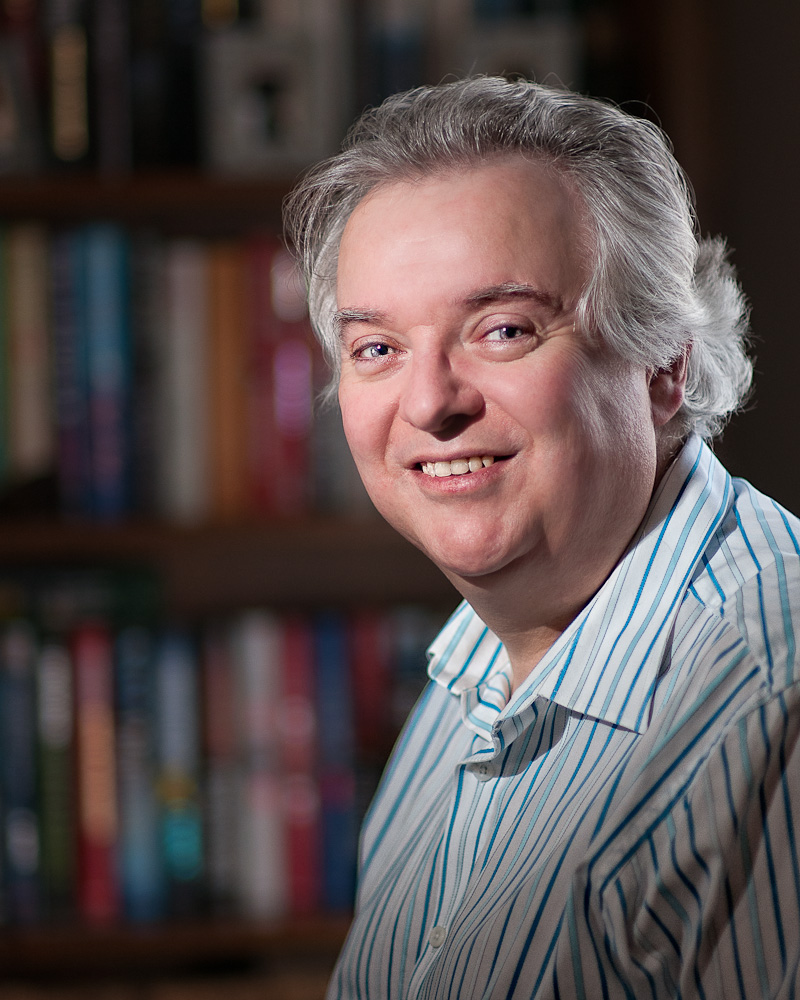
I used 2 setups for the shoot. First-up was a black (velvet) background with two flash. The first as a keylight at 45 degrees above the subject, shot through my favorite double diffused, 54cm Lastolite Professional, Joe McNally EzyBox Hotshoe. The second strobe was a hair-light shot through a grid. Both flashes were on Pocket Wizard Flex TT-5 radio triggers, and so easily controllable from camera. Both lights were set camera-left. The set (on the kitchen table, as it happens) was built with books from my study and props from the kitchen. I have heard it stated that you should use the same quality of light on the hair as with the keylight, but I really like the sharpness of a grid spot on the hair and I think that a lot of photograhers shoot that way.
The second setup was a more traditional corporate portrait affair. Keylight courtesy of Joe McNally, a Lastolite Tri-Grip reflector and a low-tech grey background (a £7 grey bed sheet, courtesy of ASDA), in this case, simply thrown over the velvet background panel and clipped on with A-Clamps to keep it taut. A hair-light shot through a grid, and finally a background light shot through a Lastolite Micro-Apollo softbox. Again all the strobes were on Flex TT-5 radio triggers controlled from the camera.
Post-Processing
Given the nature of the lighting, not too much was required. A quick run through OnOne software’s Perfect Portrait 2, the addition of mid-tone contrast from Color Efex Pro 4 and my usual 3-pass sharpening regimen.
The Images
The best way to see them is to swing by NetMagic and check out their excellent facilities. You may well know someone that could benefit from their services and they would be delighted to take your call.
Cheers,
Robin.
Feb
06
Relaxing at home…
Another Year Older..
Both the Doctor’s Images, and the Doctor himself, are another year older. It has bugged me for some time that my current photo has me with such long hair. Did I ever tell you that story? I really dislike having my hair cut. Just always have done. I only go to have it cut with my family, to places I’m used to. Once happy with a hairdresser I would always go there, even on my own. My spouse, on the other hand, is very fussy. Hairstyle is a business issue as well as a personal one. Picky doesn’t come into it. And she changes hairdresser quite often, which leaves me high and dry. Can’t go back. Too embarrassing to explain why my wife has changed. Nightmare. Several months will go by, and then another few, whilst the new stylist proves themselves and then I can join in. Meanwhile I turn into 60’s man. Work colleagues recognize this pattern. Anyway, we are back where we need to be with Sam again, and my hair is a reasonable length. So time for another picture.
Choosing a Setting
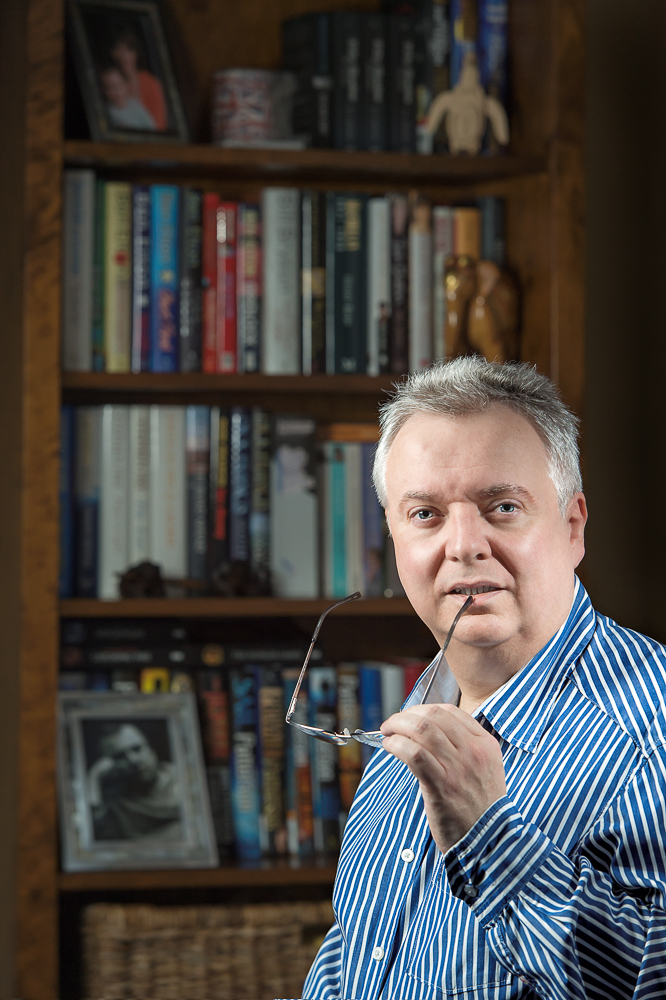
Actually, I quite like the relaxing at home in the library look (although, as you will see, the reality is somewhat different), so I will go with a repeat of that. I thought briefly about a plain black or grey or white background, but then thought something less clinical would be better. I thought about a 2 strobe setup, and whether to employ the same methodology as previously described in The Making of a Self Portrait, but decided against it. Instead, as can be seen from the production shot below, I used a softbox and a grid-spot this time.
 This was no ordinary softbox, but a Lastolite Ezybox 30 inch from their Jo McNally range. As you can see I’m using part of my lounge with a single bookcase, which through careful positioning, and by using a 70-200mm f2.8 zoom, has been made to look like a whole library. As you can also see from the production shot I am using my famous home-made grid spot, the ones made of black straws and cardboard, for the hair light rather than using window light.
Finding the Focus
This was not as easy as it might have been because I was doing this as a self-portrait. Our weekends are very busy and no helper was available. I had a remote release in play and used manual focus via trial and error to find my focus point. I started out using f2.8 to blur the bookcase as much as possible, but this just made critical focus impossible to find on my own, so I moved out to f5.6 which gave sufficient depth of field. My radio flash triggers worked well but I was having a problem with my remote release. If not pressed firmly and precisely downwards, the button caused only one flash to fire, and at first this seemed to weird to be true. This gave an interesting and very dramatic effect (because it was the grid spot) but this was not to be too arty. Common sense would indicate that it must be a flash trigger problem, though this didn’t seem to be the case and after a while I was able to choose one or both flash to fire at will based on how I pressed the button on my remote trigger. So what about the outcome? Well I have chosen 2 shots below as possible to use, and by the time you read this one will be posted in my About page.

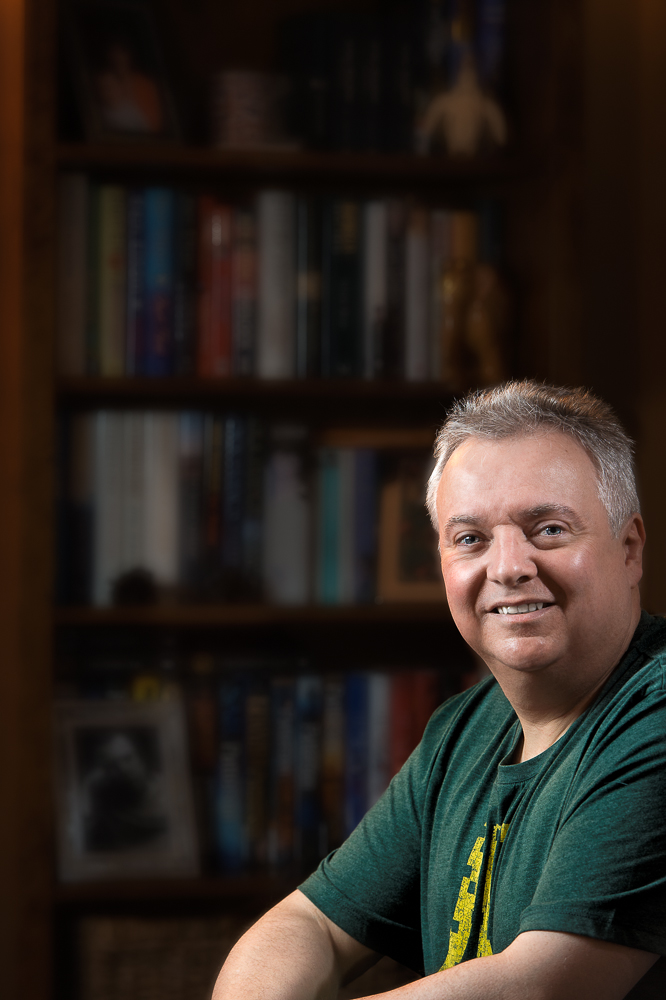
 The images were relatively straight forward to edit, but I did use the opportunity to play with onOne Software’s Perfect Portrait 2 which is now much faster and easier to use than previously. There are many things to like, particularly the way in which it uses Bezier curves to select the mouth and eyes. This is so much faster than the previous method which used a mask. Skin smoothing is a real doddle and it is possible to get a really nice skin tone and texture even if the original is quite red for instance. Perfect Portrait 2 comes as part of Perfect Photo Suite 7 which again is worth a look. Comparing these images with last year’s picture, the background blur is much less at f5.6 than that achieved with my 85mm at f1.4, but this is to be expected given that I was much closer in on the previous image. Background blur varies with both the camera to subject distance (a shorter distance gives more background blur) and subject to background distance (a longer distance gives more background blur). So in essence self-portraits, with a lot of background blur, are better taken by someone else!! Well at least focussed by someone else. I have decided to use the more casual looking photo for my about page, and to blur the background a little more in Photoshop using CS6 field blur from the blur gallery.
Blurring the Background in Photoshop
 This is trickier than most people think by the way. If you blur the image substantially, for instance to remove most of the texture from the books, you will end up creating a large halo around the figure on the background layer. So when it comes to mask out the blur over the person, so that they remain sharp, what happens is there is still the halo blur of the figure in the blurred background. You can’t get rid of it, so what do you do? The trick is this:
Copy the layer that you are going to blur, prior to applying the blur, twice. Now, turn off the upper layer and apply the blur to the background layer beneath it, leaving the bottom most layer unblurred and untouched, until it appears satisfactory (in fact go a bit further than you think you need to, you can always fade it back later on). On the background layer (the middle of the 3), use the clone stamp tool to carefully clone appropriate background detail into the halo around the figure, effectively losing the outer rim of the blurred figure. Clone-in until the entire halo has been removed. Now turn off this layer and turn on the top layer. Mask out the figure using whatever technique you normally use. These days I use the quick selection brush to create the selection and then finesse in refine edge to create the mask. This creates a sharp-edged cut out that can then sit in the blurred background. Turn on both the blurred and the untouched background layers and select the blurred layer. Dial down the opacity to taste and you’re done.
In the interests of full disclosure, I have also darkened the background a little too.
Cheers,
R.
Recent Comments